|
MyGaDOE |
Version 1.0 |
To apply for a MyGaDOE user account, complete the following steps:
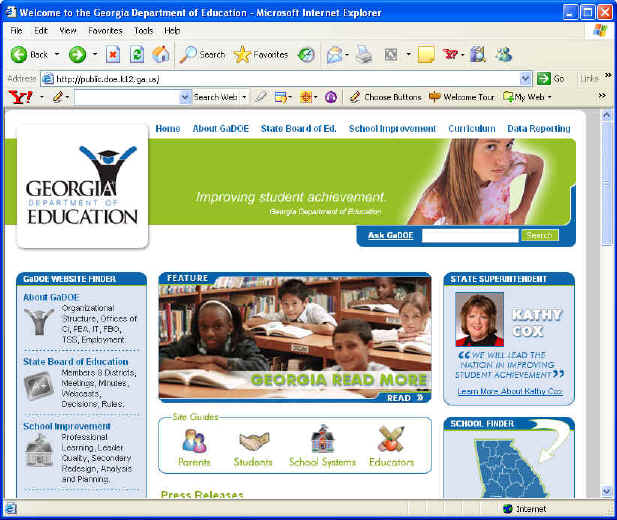
Start your Web browser (MyGaDOE supports Internet Explorer 5.5 and later for Windows operating systems, and Firefox 1.0 and later for Mac operating systems). The browser page displays its home page, as shown below. In this example, the home page shown is the Georgia Department of Education's public Web site. The home page for your browser may be different. It does not matter, since we will be entering a new address in the next step. The important thing is to note the Address field (labelled Address), located near the top left of the page below the back button.
A sample browser home page, showing the Address field just above the red Yahoo symbol near the top left of the page
Click in the Address field. The field highlights.
Press the Backspace key (the delete key that backspaces if you are using a Macintosh computer) until the existing address in the field is removed.
Type the following address in the now blank Address field: https://portal.doe.k12.ga.us/. The address displays in the field.
Click the Go button (located to the right of the Address field), or press the Enter key (the Return key, if you are using a Macintosh computer). The MyGaDOE Login page displays, as shown below.
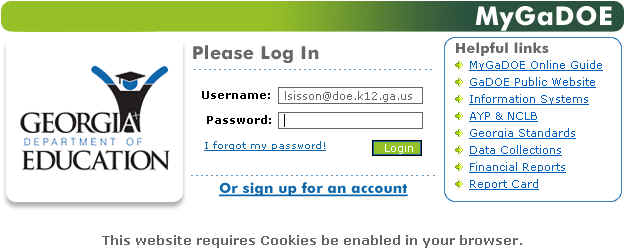
The Login page, showing the Sign Up button at the bottom of the New Users box
Click the "Or sign up for an account" link. The “Apply for a MyGaDOE Account Step 1” page displays, as shown below. This page provides MyGaDOE with individual information about you.
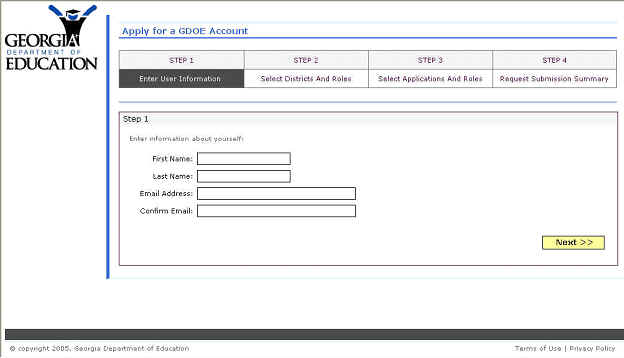
The Apply for a MyGaDOE Account Step 1 page
Enter your first name in the First Name text box.
Enter your last name in the Last Name text box.
Enter your e-mail address in the Email Address text box.
Note: This e-mail address does NOT have to be your Lotus Notes address. Use the address you use most frequently or that is most convenient for you.
Confirm the e-mail address you typed in the previous box by typing it in the Confirm Email text box.
Click the Next button. The “Apply for a MyGaDOE Account Step 2” page displays, as shown below. This page provides DOE with organizational information about you.
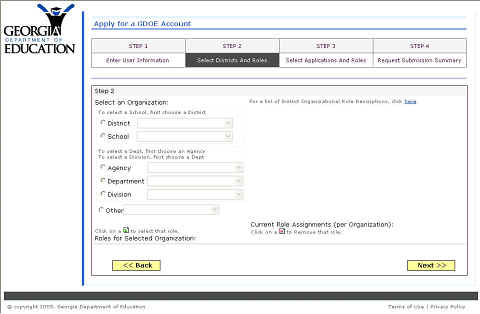
The Apply for a MyGaDOE Account Step 2 page
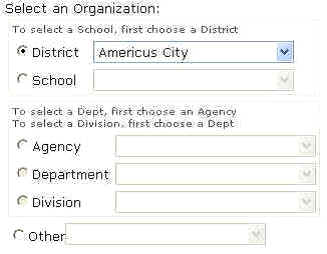
If you work for a school district (or a school within a school district) click the District radio button. If you work for an Agency (e.g., State GaDOE) click the Agency radio button. The field next to the button you click highlights, and the “Roles for Selected Organization” scroll box displays, as shown below.
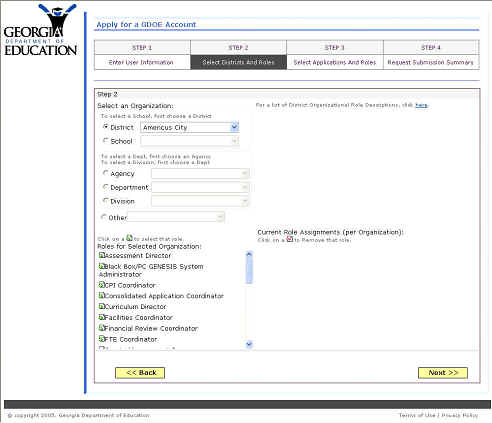
The “Apply for a MyGaDOE Account Step 2” page, showing the District radio button selected, the dropdown box next to it highlighted, and the Roles for Selected Organization scroll box displayed
If you selected Agency, go to step 20 below; otherwise continue with the next step.
From the District dropdown box, select the school district in which you work. The selected school district displays, as shown below.
The Select an Organization section of the “Apply for a MyGaDOE Account Step 2” page, showing a school district selected (in this example, it is Americus City)
If you work for the Central Office in your school district, go to step 18 below; otherwise continue with the next step.
Click the School radio button. The School dropdown box highlights, as shown below.
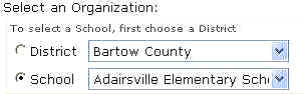
The Select District and School fields with the School radio button highlighted
Select the appropriate school from the School dropdown box. The school displays in the box, as shown in the example above.
Select the appropriate role or roles from the Roles for Selected Organization fields. The selected role displays to the right of the Roles for Selected Organization fields under the Current Roles Assignments section.
Go to step 26, below.
Select the Agency Radio button. The Agency dropdown box highlights, as shown below.
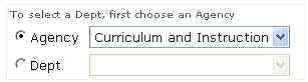
The Agency Section of the “Apply for a MyGaDOE Account Step 2” page, showing the Agency and Dept (Department) fields
Select the Agency from the Agency dropdown box.
If there is no department within the agency for you to select, go to step 26 below; otherwise continue.
Select the Dept (Department) radio button.
Select the appropriate department from the Dept dropdown box.
Select the appropriate role or roles from the Roles for Selected Organization fields. This is done by clicking the green plus (+) symbol to the left of the role, as shown below. The selected role displays to the right of the Roles for Selected Organization fields under the Current Roles Assignments section.
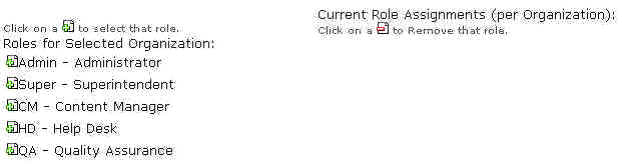
The Agency Section of the “Apply for a MyGaDOE Account Step 2” page, showing the Roles for Selected Organization fields – Note the Green plus (+) sign along the left side of each item
Click the Next button. The “Apply for a MyGaDOE Account Step 3” page displays, as shown in Figure 10 below. This page is used to specify the work role(s) associated with the applications listed above them on the page.
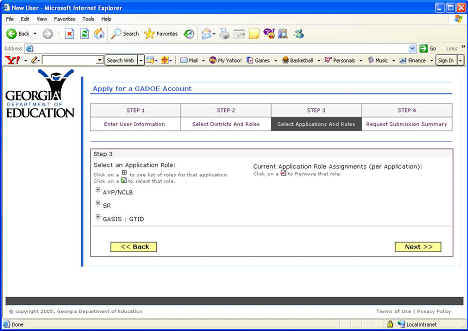
The Apply for a MyGaDOE Account Step 3 page, used to specify the work role(s) associated with the user's applications
Click the plus (+) symbol to the left of the application for which a role is to be specified. The application expands to display a list of the available roles, as shown below.
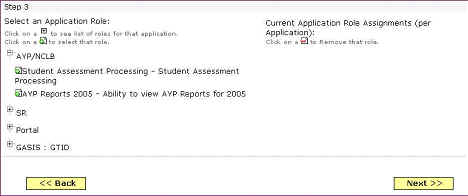
Part of the Select an Application Role page, showing available roles for the AYP/NCLB application
Click the green plus (+) symbol to the left of the role you want to add. The role displays to the right, under the Current Application Roles Assigned (per Application) heading.
Repeat steps 27 and 28 for each application for which roles are to be assigned.
Click the Next button. The “Apply for a MyGaDOE Account Step 4” page displays, as shown below.
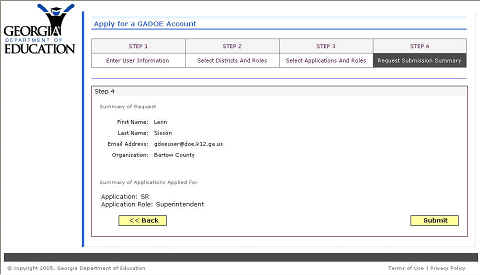
The “Apply for a MyGaDOE Account Step 4” page (the submission step)
Review the information displayed on the page. If changes are needed, click the yellow Back button until you reach the step where the changes need to be made, make the appropriate changes, and work forward until again reaching this page.
When sure that this represents the information you wish to submit for this account, click the Submit button. The Request Submitted page displays, as shown below.
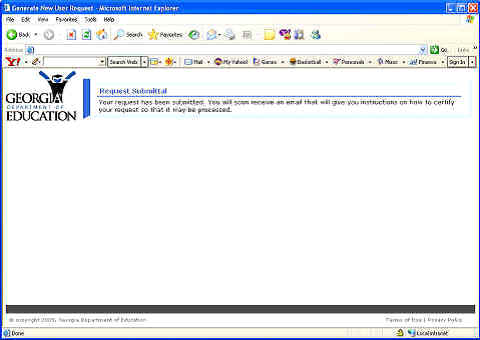
The Request Submitted page, which you receive after submitting the request for a new account
The next step in this process is to check your e-mail for a request confirmation message from MyGaDOE Support, as shown below.
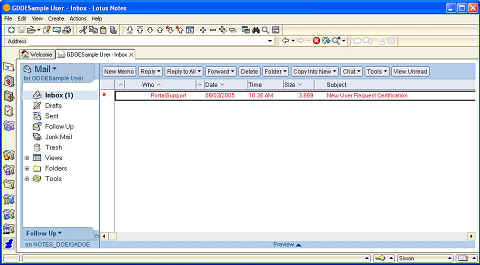
A sample New User Request Certification e-mail as it displays in a sample e-mail client
When the e-mail message arrives, open it. The message displays, as shown below.
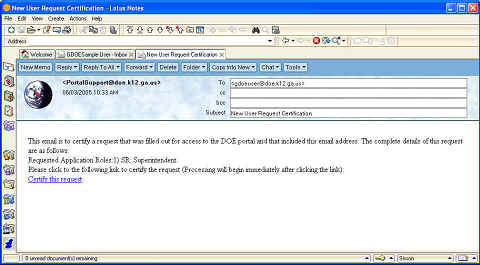
A sample New User Request Certification e-mail as it appears when opened
Click the Certify this Request link at the bottom of the e-mail.
The request is certified as coming from a valid e-mail address, and automated e-mails are sent to the appropriate Security Officer and the Business Owner for action. Once the request has been accepted or denied, the user receives an e-mail stating so. If accepted, the user is granted access to the application, otherwise not.
This completes the Sign Up for a New Account process.